My Keyboards And Qmk
Ever since last year, after getting my first mechanical keyboard, which was a cheap prebuilt from Amazon, I’ve been longing to one day create my own. That is exactly what I had achieved in May this year.
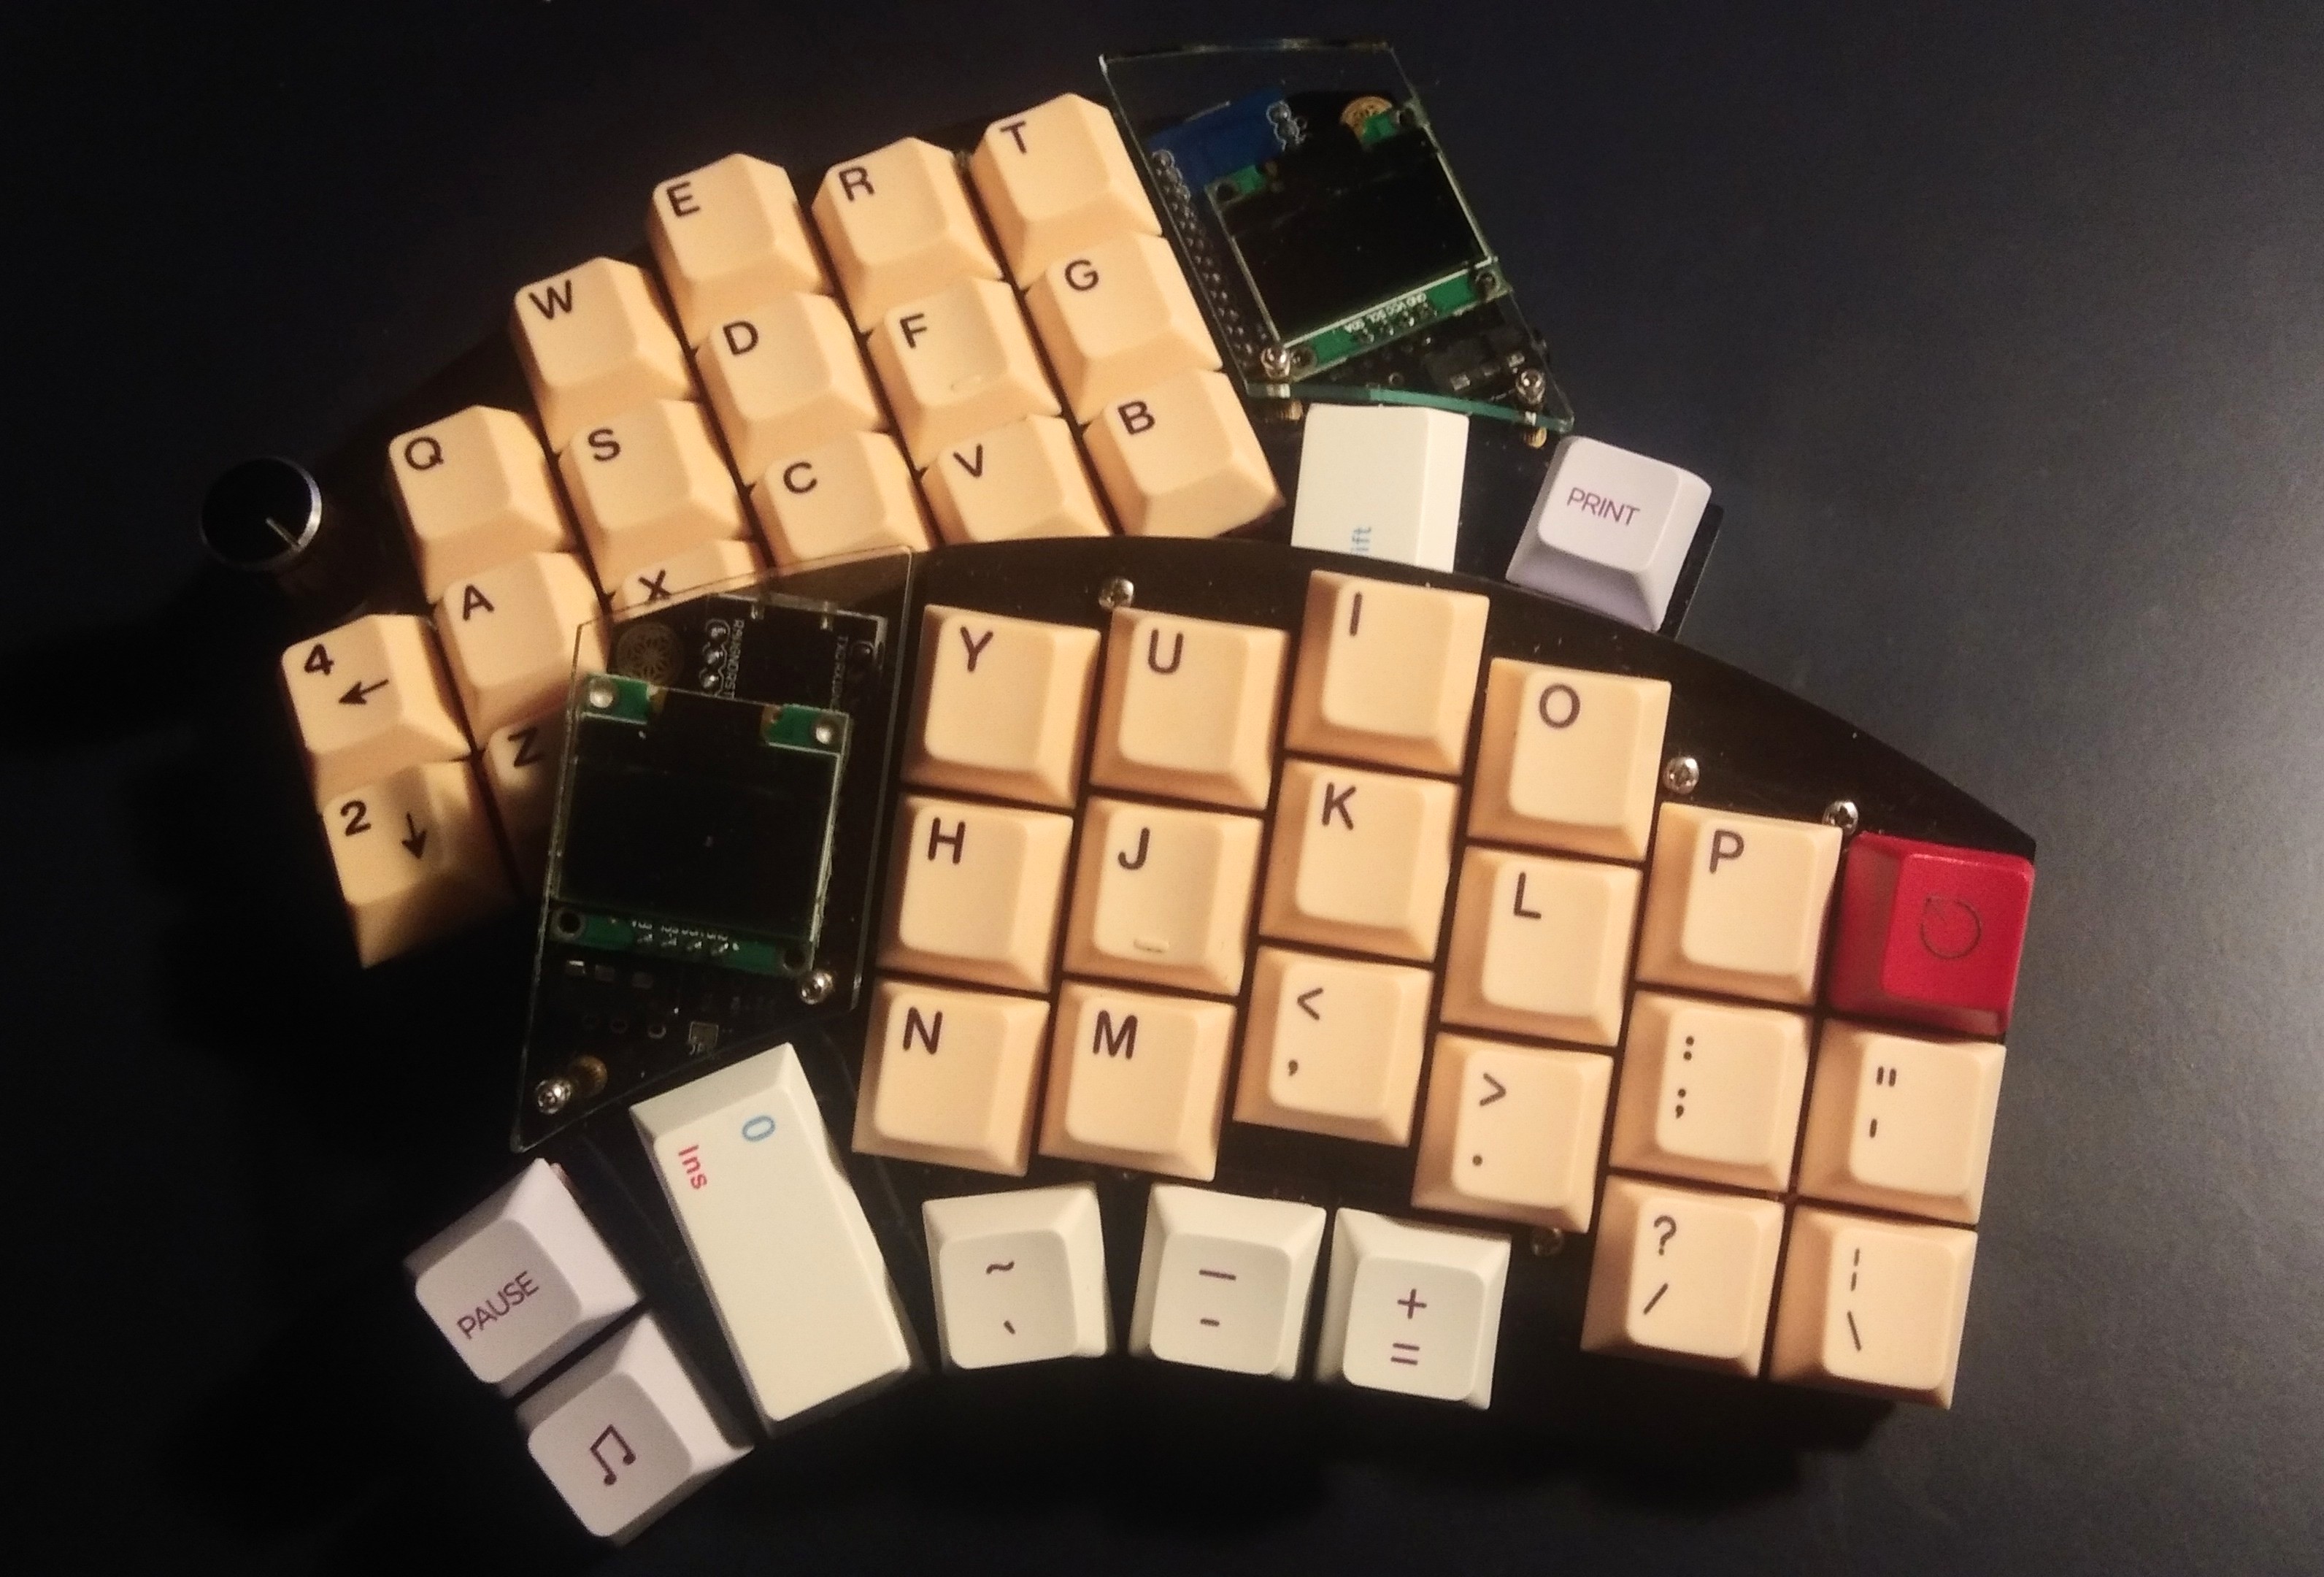
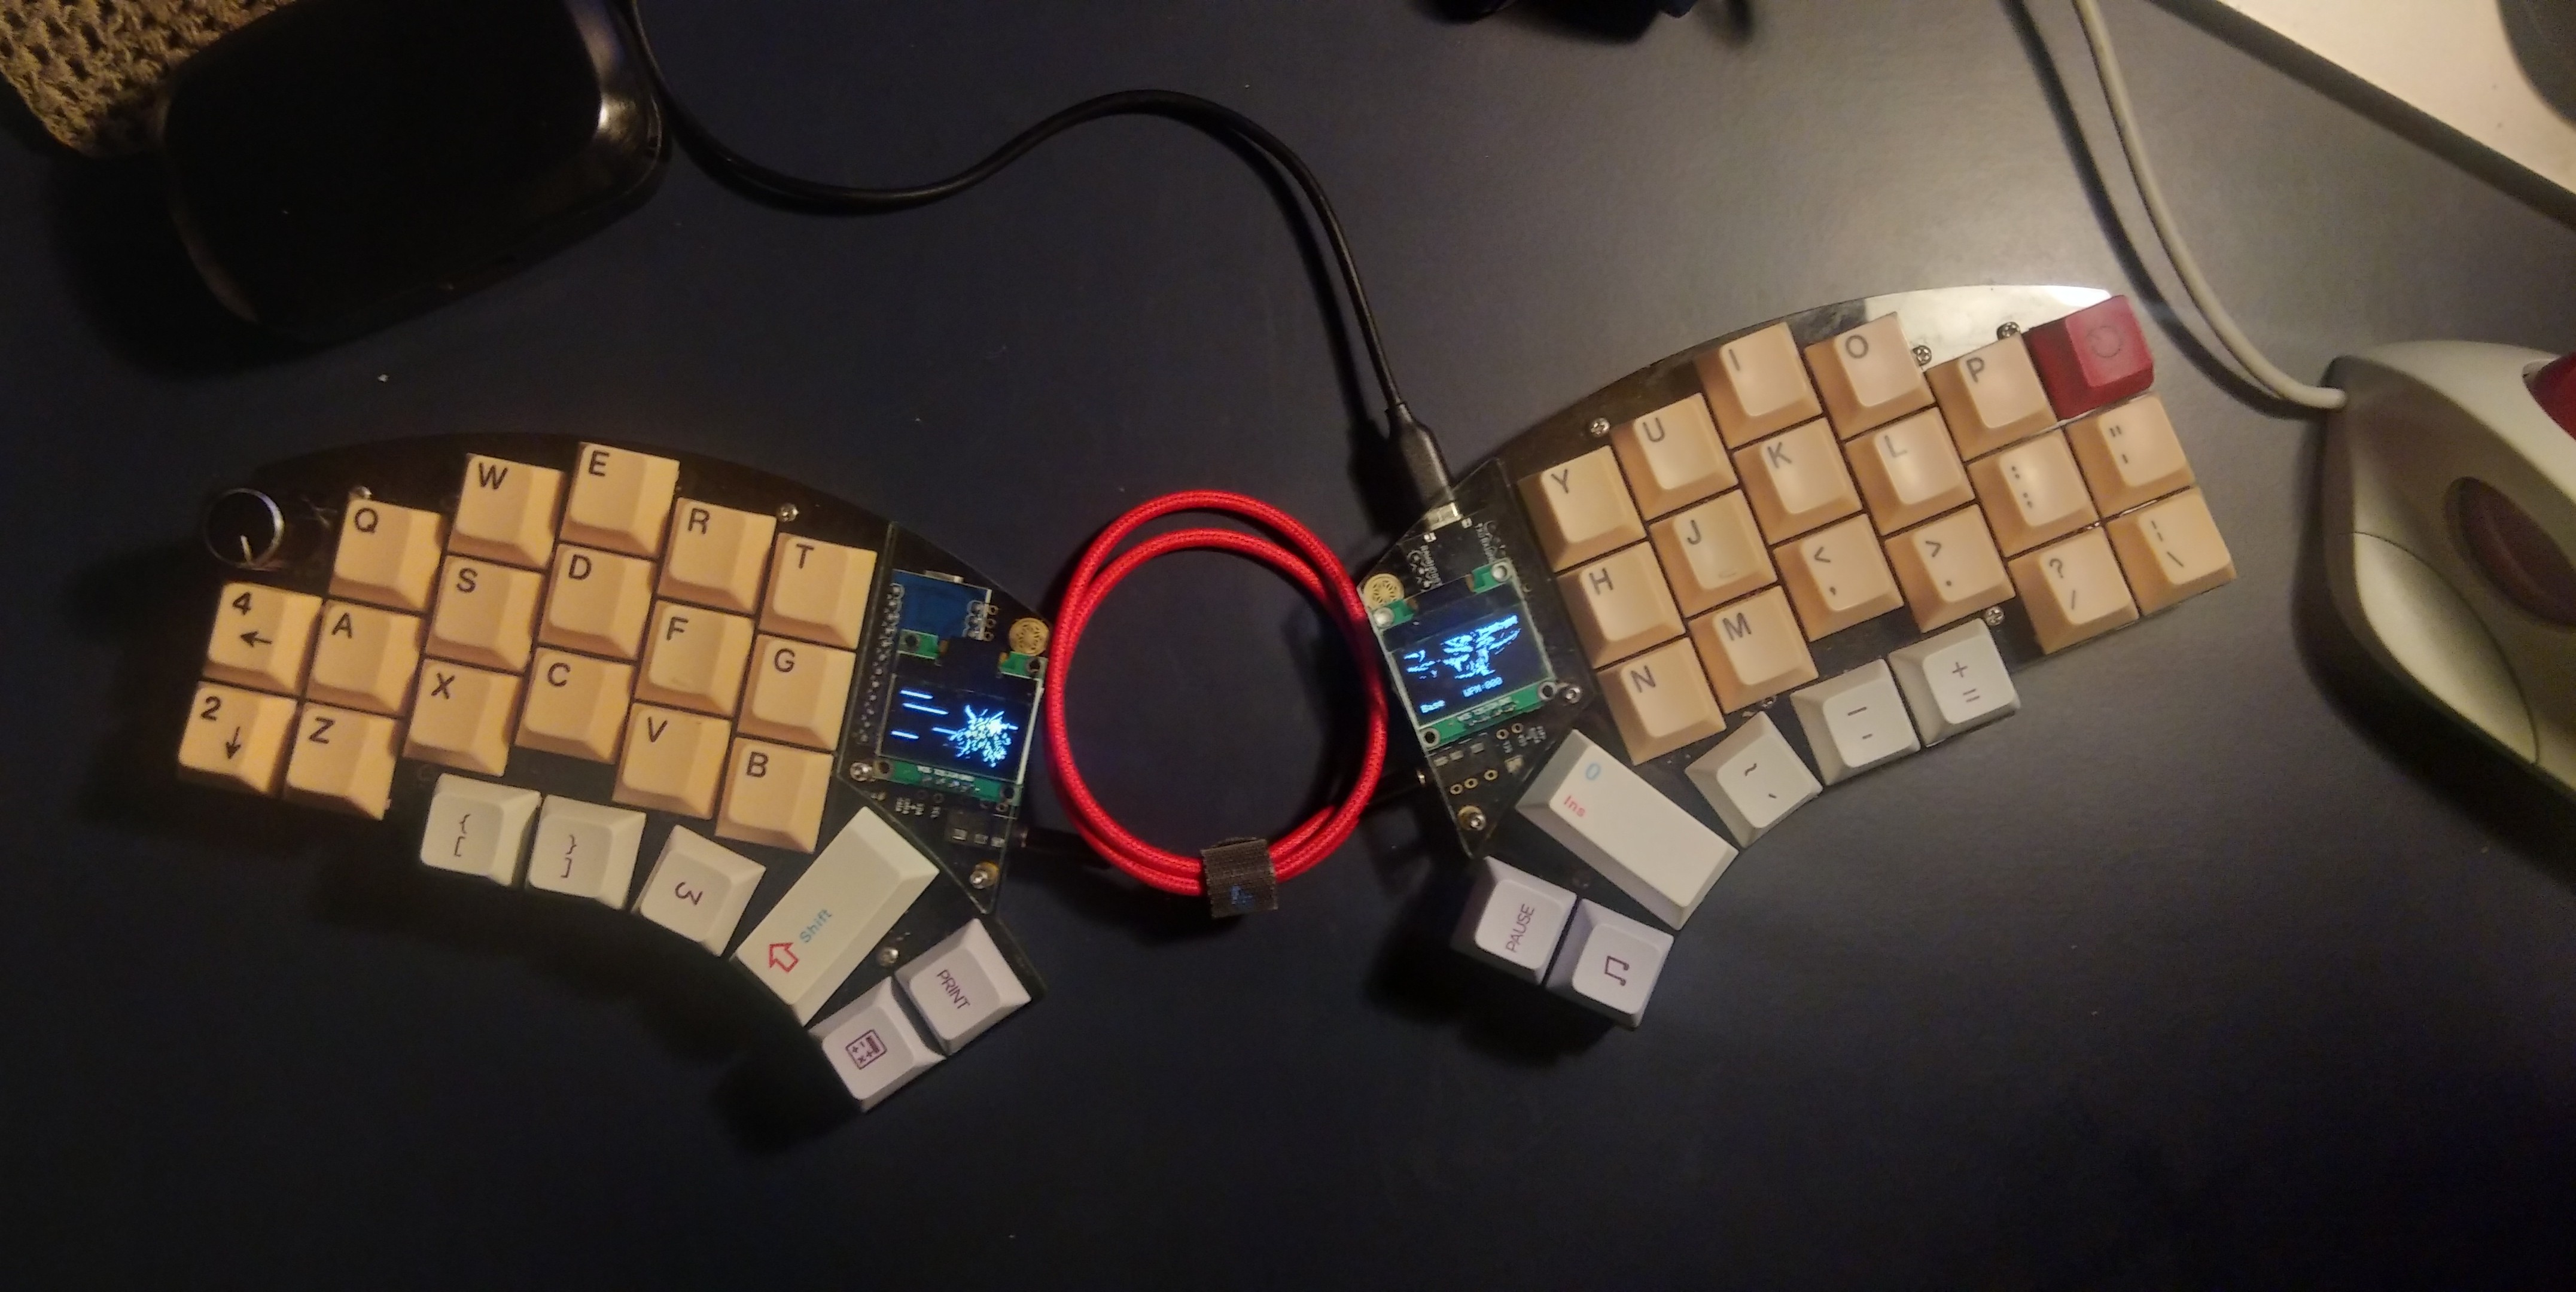
My first ever build, and also the keyboard I’m currently writing and working on, is my Kyria. It’s a split ortholinear keyboard mounted with an Arduino Pro Micro on each side. I started with the two halves of the PCB, which I’ve initially purchased around July last year. After I decided to fully commit to building it, there was around a month of wait for the other parts I’ve ordered to arrive. That includes the case (three acrylic plates), Arduino Pro Micros, key switches, stabalizers and 128x64 OLED screens. I had a cheap soldering iron purchased from Canadian Tire from years ago, so with some solder I got right to work.
The first part of the soldering process composed of the diodes, TRRS jack, reset button, Pro Micro and the OLEDs. Then I had to test out the PCB while it is connected to check if each key is functioning, which could highlight incomplete joints on the diodes or the Pro Micro. After confirming all keys indeed work, I soldered the key switches and finalized the finishing touches.

All in all I find the build to be a very fun and fulfilling project. That’s largely due to me being able to work and play with my finished product. I also think the layout and number of keys work wonderously, and I really appreciate the columnar stagger as well.
Since completing the keyboard, I’ve been putting time here and there to fine-tune my keymap, hosted on my QMK_firmware fork. My Kyria keymap utilizes three layers (Base, Lower, Raise), and also integrates dynamic macros, tap dances and mod taps. I’ve also created my own animation which reponds to your wpm as you type. I have no problems doing my work on my Kyria at the present moment, though it might seem quite incredulous to others as it has less keys than that of a conventional keyboard.
Here’s a link to my Kyria keymap and configurations.
I’ve also created keymaps for the MayPad and Navi10.
All of my changes are made to dev_branch:
- Kyria
- There are changes made to the keyboard level
rules.mkfile - My keymap is found within the SWLK folder within the
keymapsdirectory - Some features were disabled due to the relatively large amount of space the animation frames occupy
- It’s possible to change what features to enable to your liking, QMK will tell you if have exceeded available memory
- The code for the animation was taken and modified from j-inc’s Bongo Cat animation
- Change
MASTER_LEFTorMASTER_RIGHTbefore compile if you want dual-handedness- put in some code to fix the issue of the rotary encoder registering opposite input with dual-handed set up
- the function checks the Master side at compile time and changes the direction of the rotary encoder on compile time
- There are changes made to the keyboard level
- MayPad and Navi10
- Keymaps are within the
keymapsdirectory inSWLKfolder
- Keymaps are within the